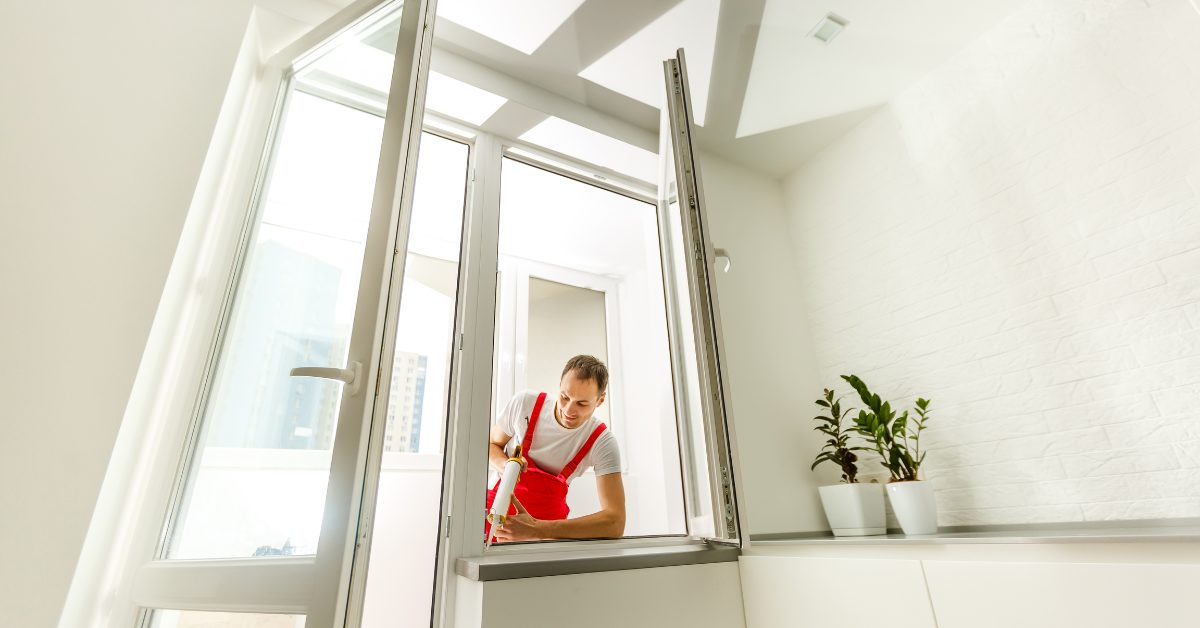
Implementing good winter window insulation is one of the best and easiest ways to improve the energy efficiency of your home. Many older homes were built using single-paned windows which do little to keep the heat or cold outside. Replacing these with newer windows will cut your energy bills considerably, not to mention keep you and your family comfortable all year long.
But replacing windows need not be your first step. Let us explain!>

Assessing Your Current Window Insulation
It’s crucial to evaluate the state of your existing window insulation. It helps you pinpoint areas that need improvement.
Start by inspecting your windows for any signs of trouble.
- Look out for cracks, gaps, or damaged seals; they can be a major source of heat loss.
- Check for condensation or fog between the panes, which could signal a broken seal.
- Pay attention to temperature variations near your windows, as it might indicate a lack of insulation.
Wrap up your window-checking adventure by jotting down any issues that need fixing. Rank them by order of priority. This will help you figure out where to start when you’re making your windows all cozy and warm.
DIY Winter Window Insulation Options
If you’re keen on cost-effective methods for winter window insulation, there’s a variety of DIY solutions at your disposal.
Weatherstripping tape
This is a favorite among DIY enthusiasts. It’s an adhesive tape applied along window edges to create a seal that keeps drafts at bay. It’s a breeze to install and can significantly reduce heat loss.
Window film insulation
This transparent sheet sticks to your windows using double-sided tape. This creates an extra layer of insulation to block drafts and reduce heat transfer. You can choose from a range of styles, including heat-control and insulating versions, catering to your specific needs.
Draft stoppers or door snakes are also good options. You can place these fabric tubes at the bottom of your windows to prevent cold air from entering. They are affordable, easy to make, and you can tailor them to match your decor!
Best Winter Window Insulation Products on the Market
If your windows need some extra TLC, you can find top-notch products out there.
Window insulation kits
These are a popular choice, featuring shrink film that adheres to your windows with double-sided tape. After application, use a hairdryer to seal the film tightly, offering effective window insulation.
Window quilts or insulated curtains
Thick, quilted panels can be hung over your windows, creating an additional insulation layer. They’re particularly beneficial for older or single-pane windows lacking proper insulation.
Thermal window shades
Thermal window shades provide an additional layer of insulation for your windows. The shades are designed to trap air between the shade and the window. This creates a barrier that prevents heat from escaping and cold air from entering.
Thermal window shades come in various styles and materials to match your home’s decor, offering both functionality and aesthetic appeal.
Steps to Install Winter Window Insulation Kits Properly
Installing winter window insulation might seem daunting, but by following these tips, you’ll soon be sipping on a relaxing beverage and admiring your handiwork! (Or scroll down and simply watch the video below!)
Step 1: Gather Your Materials
Before you begin, make sure you have all the materials from your window insulation kit ready. Typically, these kits include shrink film and double-sided tape. Ensure you have enough supplies to cover all the windows you plan to insulate.
Pro Tip: Before starting, warm up your shrink film by placing it in a sunny spot or using a hairdryer on a low setting. Warm film is more pliable and easier to work with during the installation process.
Step 2: Prepare Your Work Area
Clear the space around your windows to create a workspace. You’ll need access to the entire window surface for a smooth installation process.
Pro Tip: Lay a large, clean sheet or plastic drop cloth on the floor below the window to catch any trimmings or debris that may fall during installation. This will make cleanup a breeze.
Step 3: Clean Your Windows Thoroughly
Properly clean your windows to ensure the insulation adheres effectively. Remove dirt, dust, and any debris from the window frames and glass using a mild cleaning solution and a clean cloth.
Pro Tip: Add a few drops of white vinegar to your cleaning solution. The vinegar helps remove stubborn residue and ensures a crystal-clear surface for your insulation.
Step 4: Measure and Cut
Measure the length of shrink film needed for each window. Cut the film accordingly, ensuring it’s slightly larger than the window frame to allow for proper coverage.
Common Mistake: It’s so easy to cut the shrink film too small or too large. It’s essential to measure accurately to ensure the film provides complete coverage and a snug fit.
Step 5: Apply Double-Sided Tape
Starting at one corner of the window frame, apply double-sided tape along all four sides, making sure it’s flush against the window frame. Be precise to create a tight seal.
Pro Tip: Run your finger along the tape after applying it to ensure a strong bond with the window frame. This extra pressure helps create a better seal and prevents air from leaking.
Step 6: Attach Shrink Film
Carefully attach the cut shrink film to the double-sided tape, starting at the top. Press it gently against the tape, ensuring it adheres securely.
Pro Tip: Have a friend assist you during this step. One person holds the film. The other person puts it on the tape. This is done to avoid wrinkles and ensure even application.
Step 7: Use a Hairdryer
Now comes the fun part. Use a hairdryer on a low setting to gently heat the shrink film. Start at the top and work your way down. The heat will cause the film to shrink and form a tight, clear barrier over your window.
Common Mistake: Using excessive heat on high settings. High heat can make the film bend, so begin with low heat and slowly raise it for the best outcome.
Step 8: Smooth Out Wrinkles
As you heat the film, it might develop wrinkles or bubbles. Don’t worry; simply smooth them out with your hand as you go along. The film will have a taut and nearly invisible appearance.
Pro Tip: For stubborn wrinkles or air bubbles, gently puncture them with a needle or pin before continuing to apply heat. This allows trapped air to escape, resulting in a smoother finish. Address wrinkles and bubbles as you go to achieve the best outcome.
Step 9: Trim Excess Film
After the film has fully shrunk and adhered to the window, trim any excess film using scissors or a utility knife. Be careful not to cut too close to the tape, ensuring the seal remains secure.
Common Mistake: Cutting too close to the tape, risking damage to the seal. Leave a small margin to maintain a secure seal without risking damage to the insulation.
Step 10: Double-Check Seals
Inspect all the edges to ensure a proper seal. If you notice any gaps or areas that need reinforcement, use additional double-sided tape to secure the film in place.
Pro Tip: To ensure a strong seal, run your finger along the edges once more. Apply even pressure and check that the film is firmly stuck to the tape.
Throughout the winter, check the film for any issues and reapply heat if needed to maintain a snug, airtight seal. This quick maintenance keeps your insulation at peak performance.
New Windows Altogether?
If your windows are just too drafty, foggy, or hard to open and close, it’s time to get new ones.
Energy-efficient windows with advanced insulation features and multiple glass panes minimize heat transfer while enhancing your home’s aesthetics. This is a great investment, especially if you’re dealing with high energy bills. It’s also great for upgrading for a fresh, stylish look (while keeping it cozy!).
If your old windows are just not doing it’s job, it’s time to invest in advanced, energy-efficient champions to improve your life.
How Many Panes are Best?
Although triple-paned windows will obviously cost more, you can’t beat them as far as efficiency. For those areas that often experience extreme cold and heat, triple-paned windows make the most sense.
But for most parts of the country, a double-paned window will most likely be sufficient.
Gas-Filled
Many models of windows have air between each pane, but gas-filled units have usually Argon or Krypton between each. These gases help to further insulate your home against the outside air and help you save even more on energy bills.
Hard Coat Glass
Windows can also have a coating that’s applied to the glass which keeps the heat out in the summer and keeps the heat in during the winter months.
There are varying grades of coatings available, and the best thing to do would be to speak with a window installer to see which grade would be best for your climate area. An added bonus to coated glass is that it blocks harmful UV rays which can fade your furnishings, artwork, and carpeting.
Consider the Framing Material
The framing material of a window is one of the most critical factors in determining proper window insulation, and yet many people overlook this when purchasing new windows.
The biggest culprit in poor energy efficiency is aluminum which can conduct cold and heat, so avoid windows that use aluminum for the framing. Better options would be frames constructed out of wood or wood composite, vinyl, or fiberglass.
The same goes for the spaces between the window panes. Never choose ones made of aluminum; look for spacers made from steel, foam, or fiberglass.
It’s time to seal the deal on winter window insulation!
As winter’s chill takes hold, ensuring effective window insulation is essential for a cozy home and budget savings.
Assess your current situation, explore DIY options, or invest in more energy efficient windows.
Properly insulated windows are your ticket to winter warmth and financial relief, so be sure to find the best solution for your situation. And remember to check the rest of your home too!

About the Author
James is your friendly neighborhood content writer here at the Green Living Blog. With a passion for all things sustainable, he’s your go-to guru for everything eco-friendly. Armed with a treasure trove of wisdom about sustainable living, recycling, and environmentally conscious practices, James is on a mission. He’s here to make sure you not only protect your family but also keep Mother Earth smiling. 😊🌎 When he’s not busy sharing eco-friendly insights, James can often be found teaching his cat that compost bins make the purr-fect hideaway. 🐱♻️ Join James on his quest to uncover the secrets of defeating wasteful habits while leaving the lightest footprint on our precious planet’s ecosystem.

